There is nothing quite like the sound of a four-year-old asking, “Are we there yet?” followed immediately by the sound of a six-year-old crying because her snack bag is empty. It happened to me last summer at a state park in Tennessee, and I knew right then that my budget for the trip was already stretched thin by the gas money. When you’re camping on one income, every dollar counts, and the last thing you want is to spend $15 on a box of granola bars that get crushed in the cooler before you even set up the tent.
Finding cheap camping snacks and desserts under 5 isn’t just about saving money; it’s about sanity. It’s about knowing that when the girls are hangry after a long hike, you have something ready that won’t melt, break, or cost a fortune. Over the years, Junie and Margo have eaten their way through dozens of state parks and national forests, and we’ve learned exactly what works and what ends up in the trash.
The Budget Math: Feeding the Family Without Breaking the Bank
Before we dive into the list, let’s talk about the reality of the grocery store. When I’m packing the car for a weekend trip, I’m looking at the total cost of the trip, not just the price tag on the shelf. A $4 bag of chips might seem cheap, but if it’s open and stale by day two, you’ve wasted money. That’s why I focus on items that are durable, easy to portion, and high in energy.
For this guide, I’m breaking down cheap camping snacks and desserts under 5 based on what you can buy at a standard grocery store or make at home for that price. We aren’t talking about gourmet camping meals here; we’re talking about the stuff you grab when you need to fill a stomach fast. I’ve tested these with two energetic girls, a small cooler, and a budget that requires me to stretch every dollar.
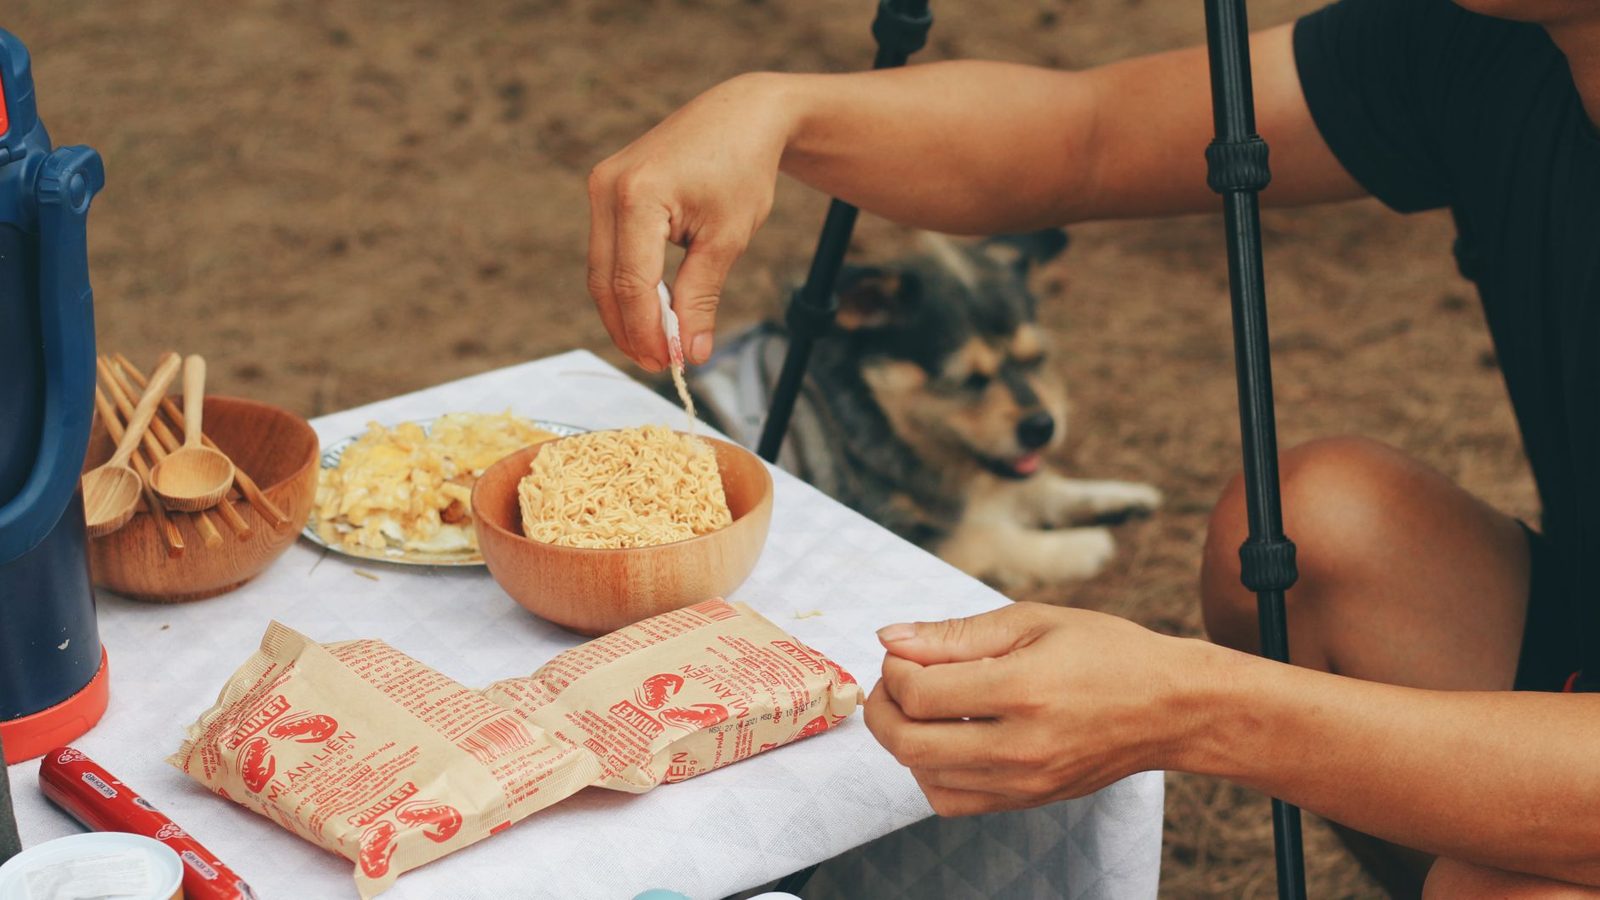
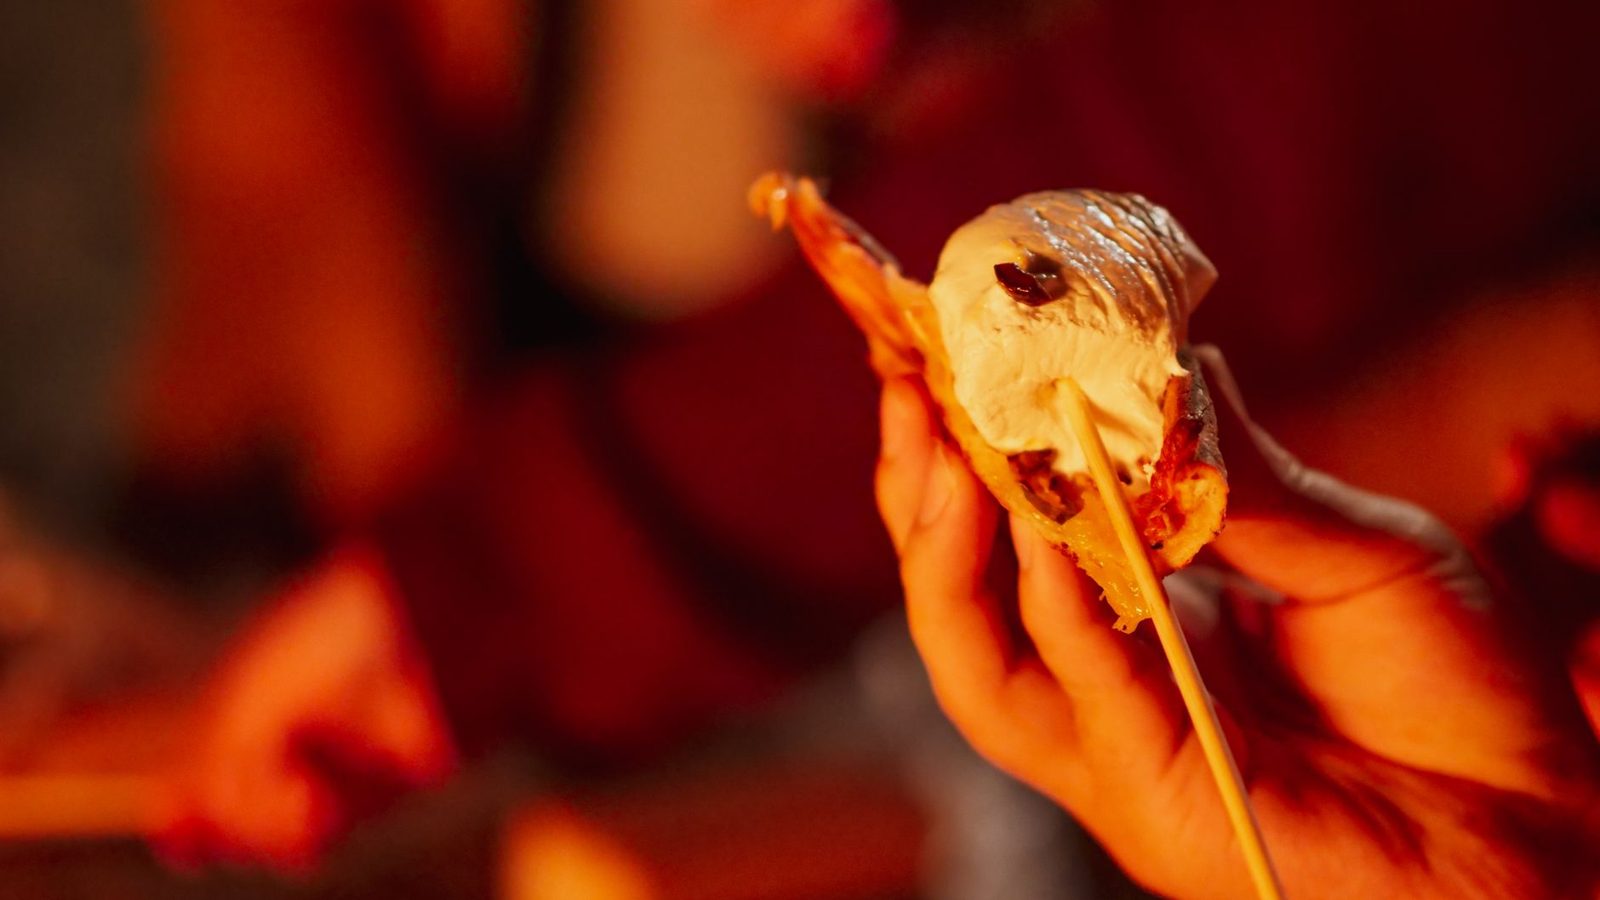 Photo: Kindel Media
Savory Options That Actually Fill Them Up
Sweet treats are great, but they don’t keep the girls going on a long hike. You need protein and salt. Here are the savory staples that have survived the backseat of our car.
1. Peanut Butter Crackers
This is the absolute workhorse of our snack drawer. You can buy a box of store-brand peanut butter crackers for about $3. They come in individual packs, which is huge for portion control. I don’t have to worry about a knife slipping or peanut butter smearing on the tent floor.
Cost Per Serving: ~$0.30 Storage: Stays fresh in the box for weeks. Why It Works: It’s salty, sweet, and has protein. When Margo is tired, this is the first thing she reaches for. The Catch: Watch out for heat. If it’s over 90 degrees, the filling can get soft. Keep them in the cooler if it’s a hot weekend.
2. Hard-Boiled Eggs
I know, it sounds like a hassle to peel them at a campsite, but I boil a dozen at home and store them in a sealed container. They are pure protein and cost pennies per egg.
Cost Per Serving: ~$0.25 Storage: Needs the cooler. Why It Works: It’s the most filling snack on this list. One egg goes a long way. The Catch: They can smell if you leave them in the car too long. I always pack a small trash bag for the shells.
3. Tortilla Chips and Salsa
A big bag of tortilla chips is usually under $4. Pair it with a jar of salsa, and you have a snack that lasts the whole weekend. It’s better than chips and dip because the salsa doesn’t spoil as fast as dairy dip.
Cost Per Serving: ~$0.50 Storage: Chips stay crunchy; salsa needs the cooler once opened. Why It Works: It’s fun to eat. The girls can scoop it themselves without making a mess. The Catch: Chips break easily. I put the chips in a hard plastic container, not a bag, to keep them from turning into dust.
4. Beef Jerky (Store Brand)
Real beef jerky can be expensive, but the store-brand versions are often under $5 for a decent pack. It’s high protein and doesn’t need refrigeration.
Cost Per Serving: ~$1.00 Storage: Shelf-stable. Why It Works: It’s tough enough that the girls have to chew it, which keeps them occupied. The Catch: It can be salty. Make sure they drink plenty of water with it.
5. Cheese Sticks
String cheese is a classic for a reason. It’s pre-portioned and has protein. You can buy a pack of 10 for under $5.
Cost Per Serving: ~$0.40 Storage: Must stay in the cooler. Why It Works: It’s easy for small hands to open. The Catch: If the cooler warms up, it gets slimy. I check the cooler temperature every morning.
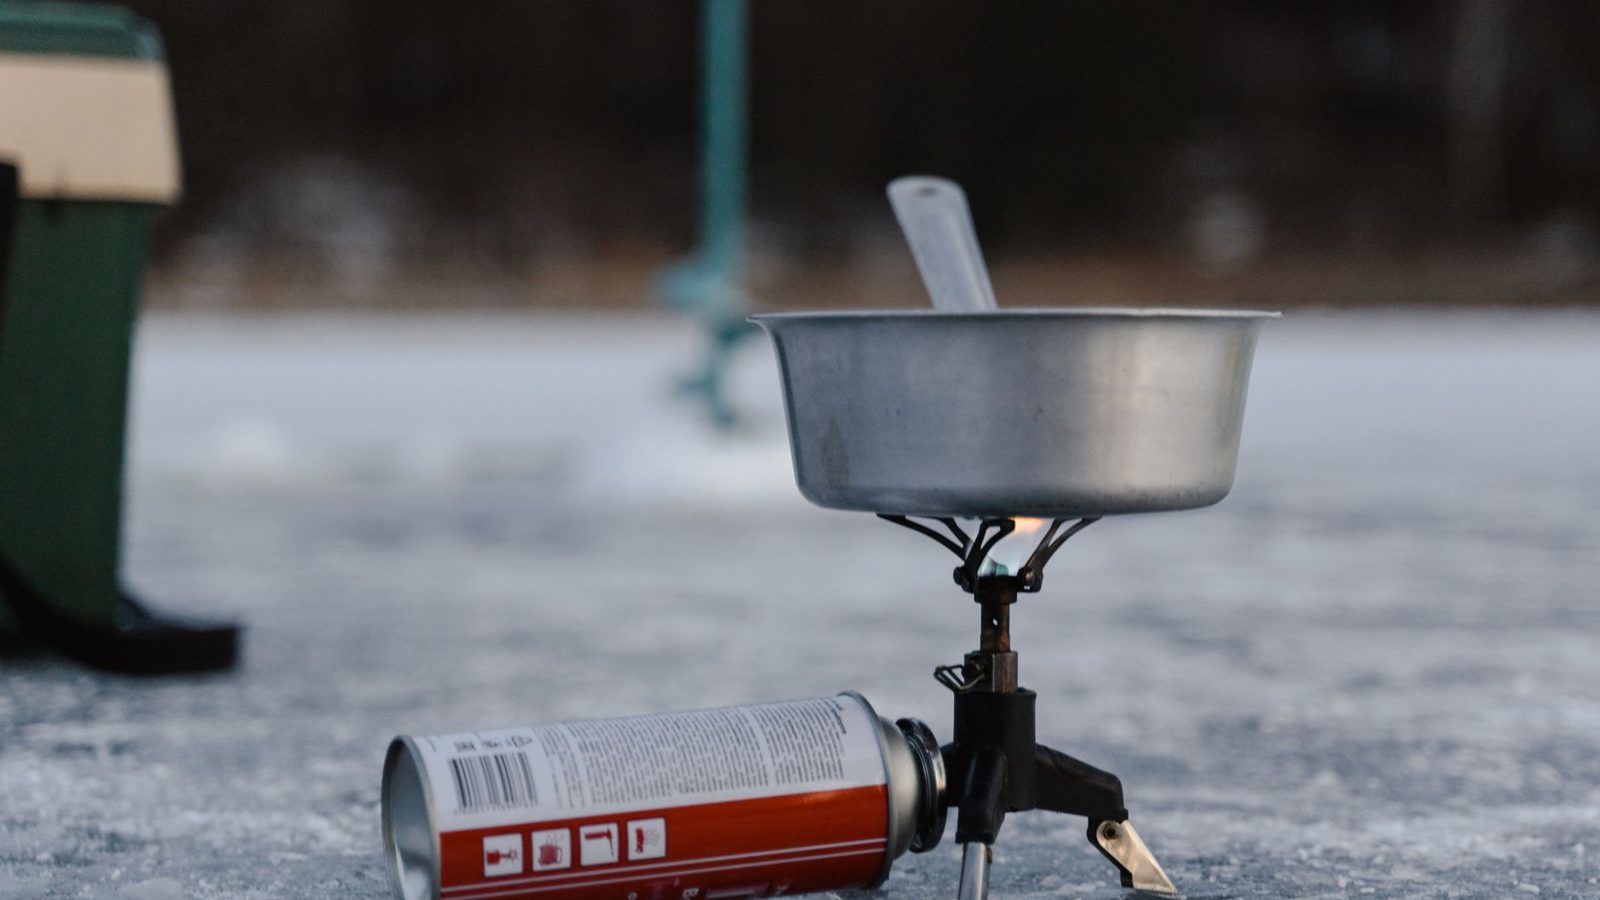
 Photo: Kindel Media
Sweet Treats That Don’t Melt
This is where most budget campers fail. They buy the cheap chocolate bars, and by the time they get to the campsite, it’s a puddle. Here is how we handle sweets without the mess.
6. Homemade Rice Krispie Treats
I make a big batch at home before we leave Chattanooga. It costs about $5 to make a whole pan, which gives us 12 squares. It’s cheaper than buying them individually, and they don’t melt.
Cost Per Serving: ~$0.40 Storage: Room temperature is fine. Why It Works: It’s soft and easy to eat. No mess. The Catch: They can get sticky in high humidity. I wrap each one in wax paper.
7. Graham Crackers (Store Brand)
You need these for s’mores, but they are also a great snack on their own. A box is usually under $3.
Cost Per Serving: ~$0.20 Storage: Shelf-stable. Why It Works: They are sturdy. Even if the box gets crushed, the crackers inside are usually fine. The Catch: They are dry. I keep a water bottle nearby.
8. Popcorn (Microwave or Kernel)
Popcorn is the king of cheap camping snacks. You can buy a bag of kernels for $2 and make a huge bowl. It’s whole grain and fills them up.
Cost Per Serving: ~$0.10 Storage: Shelf-stable. Why It Works: It’s cheap. You can make a lot for very little money. The Catch: It takes space. I use a large container to store the popped corn.
9. Canned Fruit Cups
Sometimes the girls just want something juicy. Canned fruit cups are cheap and don’t need refrigeration until opened.
Cost Per Serving: ~$0.50 Storage: Shelf-stable. Why It Works: It’s a serving of fruit without the mess of fresh fruit. The Catch: You need a way to drain the juice. I bring a small bowl.
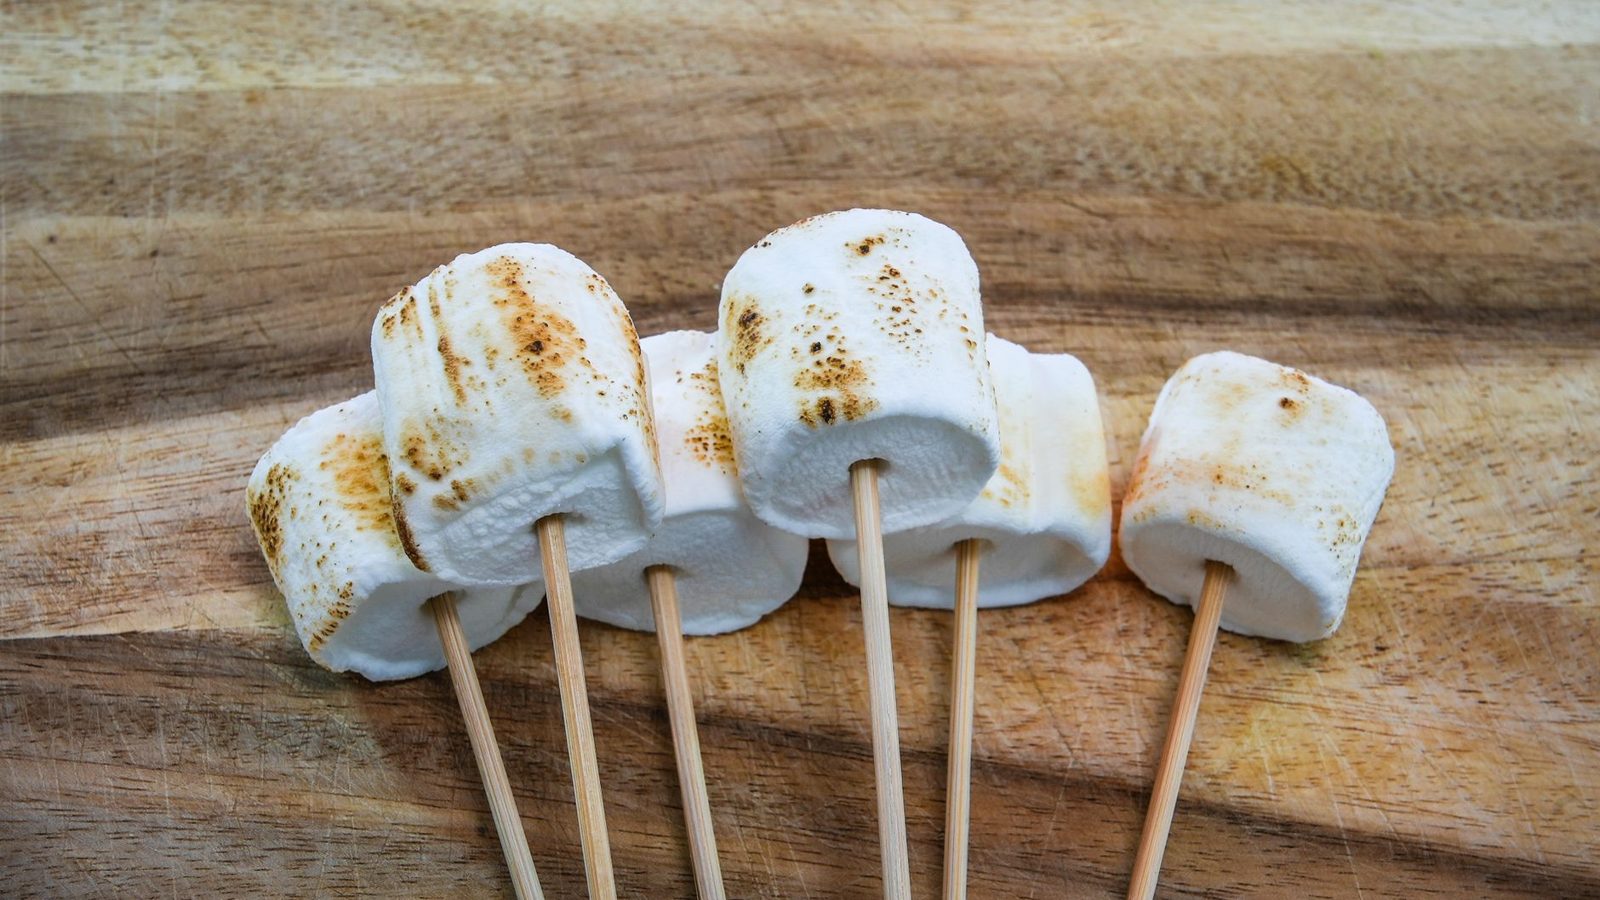
10. Chocolate Chips (Melting)
Okay, this one is tricky. But if you buy a bag of chocolate chips for $3, you can melt them over the fire for a quick treat. It’s cheaper than buying a chocolate bar.
Cost Per Serving: ~$0.30 Storage: Shelf-stable. Why It Works: It feels like a special treat. The Catch: It melts fast. Only do this right before eating.
Storage and Prep Tips for the Frugal Camper
The biggest waste of money in camping is spoiled food. If you buy $10 of snacks and half of it goes bad, you’ve spent $20. Here is how I keep my cheap camping snacks and desserts under 5 from turning into trash.
Use Reusable Containers: Plastic bags are cheap, but they tear. I use hard plastic containers for chips and crackers. They stack better in the cooler and protect the food.
Portion Control: Don’t let the girls eat the whole bag at once. I portion everything into small bags or containers before we leave the house. This prevents overeating and saves money.
Cooler Management: I put the cooler in the shade and open it as little as possible. If the ice melts, the cheese and eggs go bad. I buy block ice instead of cubes because it lasts longer.
- Durable
- Easy to clean
- Leakproof
- Can be pricey upfront
- Takes up space
What I’d Actually Buy
If I had to pack for a weekend trip with Junie and Margo today, here is my exact list. I’m not buying fancy stuff. I’m buying what works.
- Peanut Butter Crackers: For the quick energy hits.
- Hard-Boiled Eggs: For the protein.
- Tortilla Chips and Salsa: For the fun factor.
- Graham Crackers: For the s’mores.
- Popcorn: For the movie night at the campsite.
This list costs me about $20 total for the whole weekend for three people. That’s less than $7 per person. Compare that to a hotel breakfast, and you see why we camp.
FAQ: Your Camping Food Questions Answered
1. How do I keep snacks from getting crushed in the car? I put the soft stuff (chips, crackers) in hard plastic containers. I put the hard stuff (fruit, cheese) in the cooler. If you put chips in a bag at the bottom of the car, they will be dust by the time you arrive.
2. What if my kids have allergies? Always check the labels. The store-brand peanut butter crackers are usually safe, but some brands have cross-contamination warnings. I always bring a backup option, like cheese sticks, just in case.
3. Do I need a cooler for everything? No. Shelf-stable items like crackers, chips, and graham crackers don’t need the cooler. Only put perishables (cheese, eggs, meat) in the cooler. This saves ice.
4. How do I handle trash? I bring a dedicated trash bag. I tie it up every night so the smell doesn’t attract bears or raccoons. It’s also good for the budget because you don’t have to pay for extra trash bags at the dump.
5. Can I make these snacks ahead of time? Yes. I prep everything at home. I boil the eggs, portion the chips, and wrap the treats. It makes the morning of the trip much less stressful.
6. What is the best dessert for a cold night? Hot chocolate. You can buy a big canister for $5 and make it last the whole trip. It’s warm, sweet, and comforting.
See You on the Road
Camping doesn’t have to be expensive to be memorable. The best memories Junie and Margo have aren’t from the fancy gear; they’re from the s’mores we made over the fire and the long hikes we took together. By keeping the food simple and the budget tight, we can spend more time outside and less time worrying about the cost.
I hope these cheap camping snacks and desserts under 5 help you get out there with your family. Don’t worry about perfection. Just get out there, eat something good, and enjoy the view.
See you on the trail,
Penny